Using Hasura Cloud with a Crunchy Postgres Database
Introduction
This guide explains how to connect a new or existing Crunchy Postgres database to a Hasura Cloud project. If you're exploring Crunchy Postgres and are interested in migrating an existing Postgres database - such as from Heroku - check out their docs before continuing below.
Step 1: Sign up or log in to Hasura Cloud
Navigate to Hasura Cloud and sign up or log in.
Step 2: Create a Hasura Cloud project
On the Hasura Cloud dashboard, create a new project:
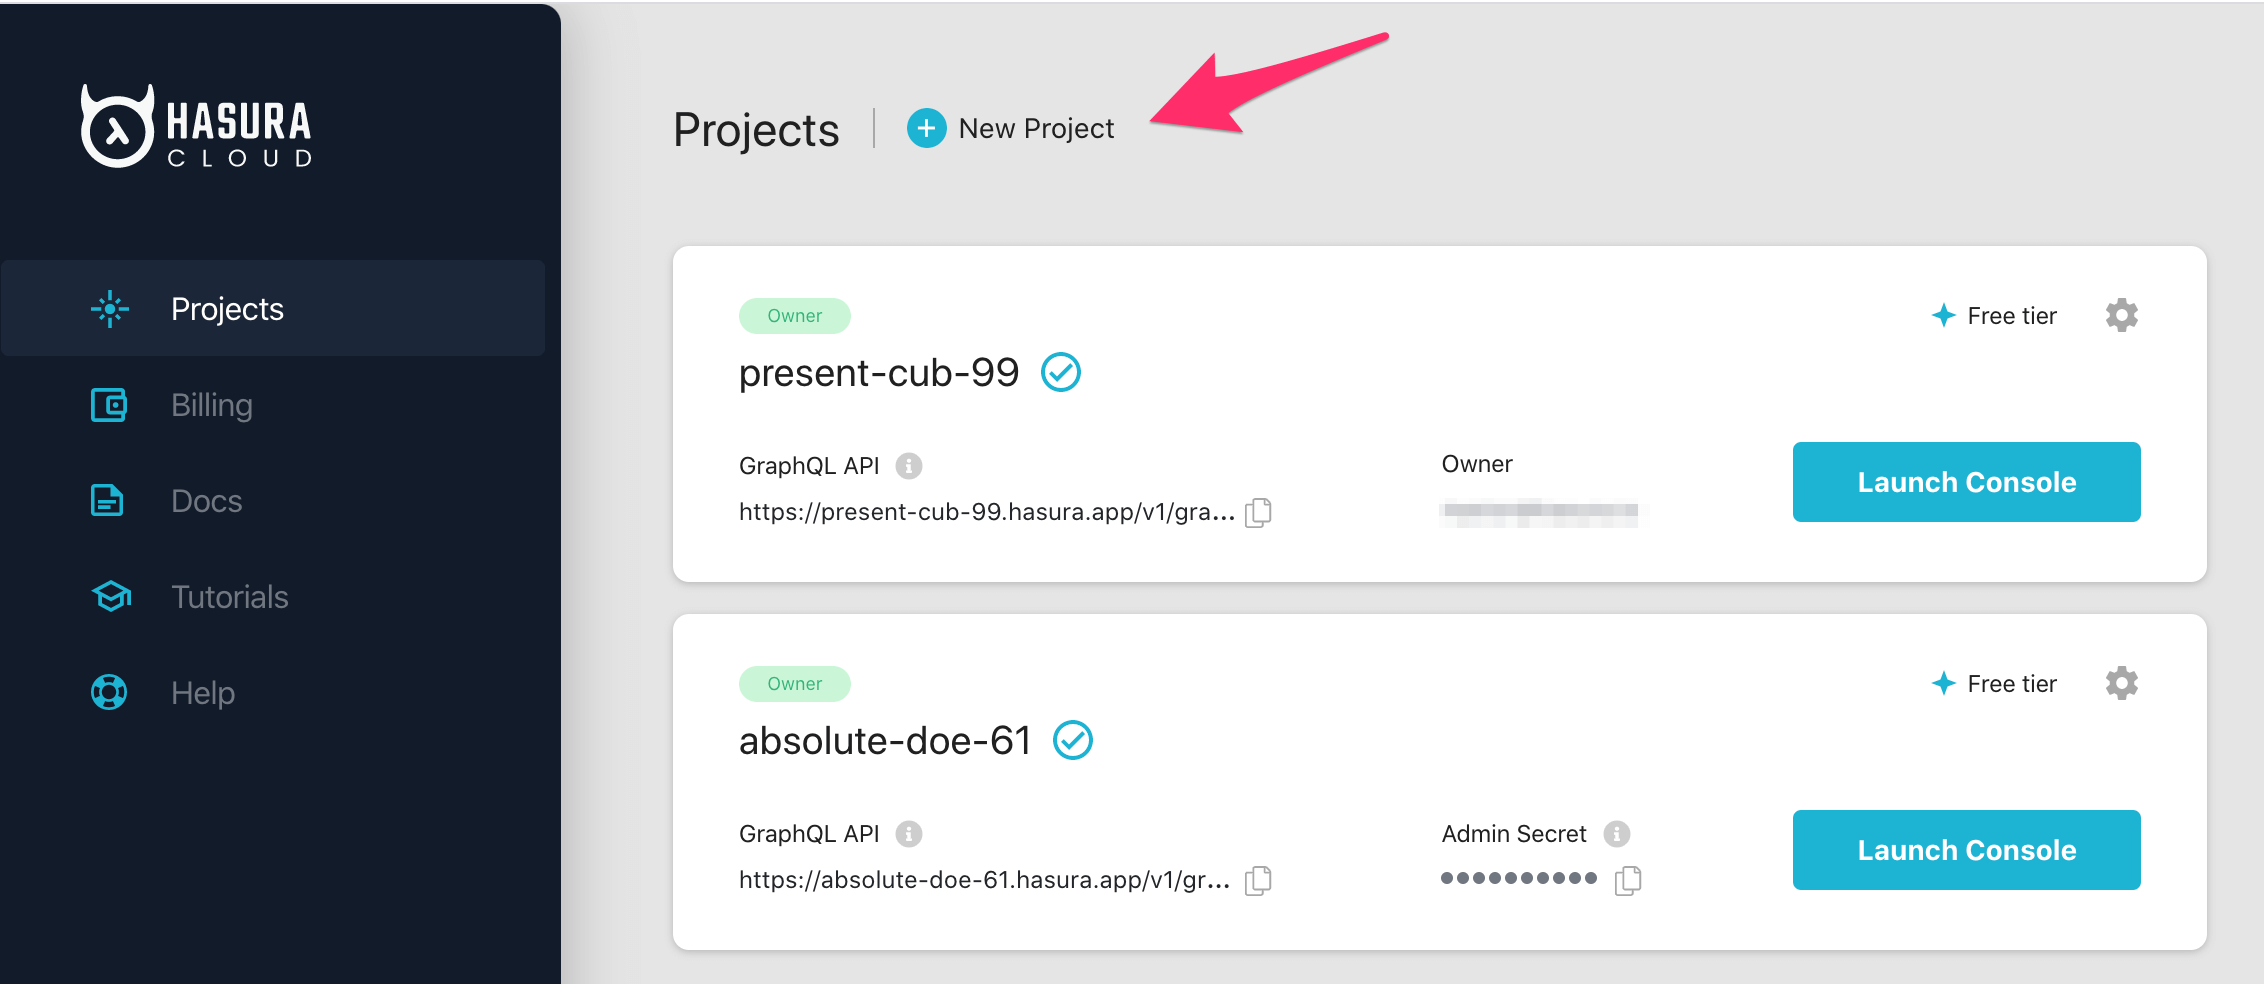
After the project is initialized successfully, click on Launch Console to open the Hasura Console in your browser.
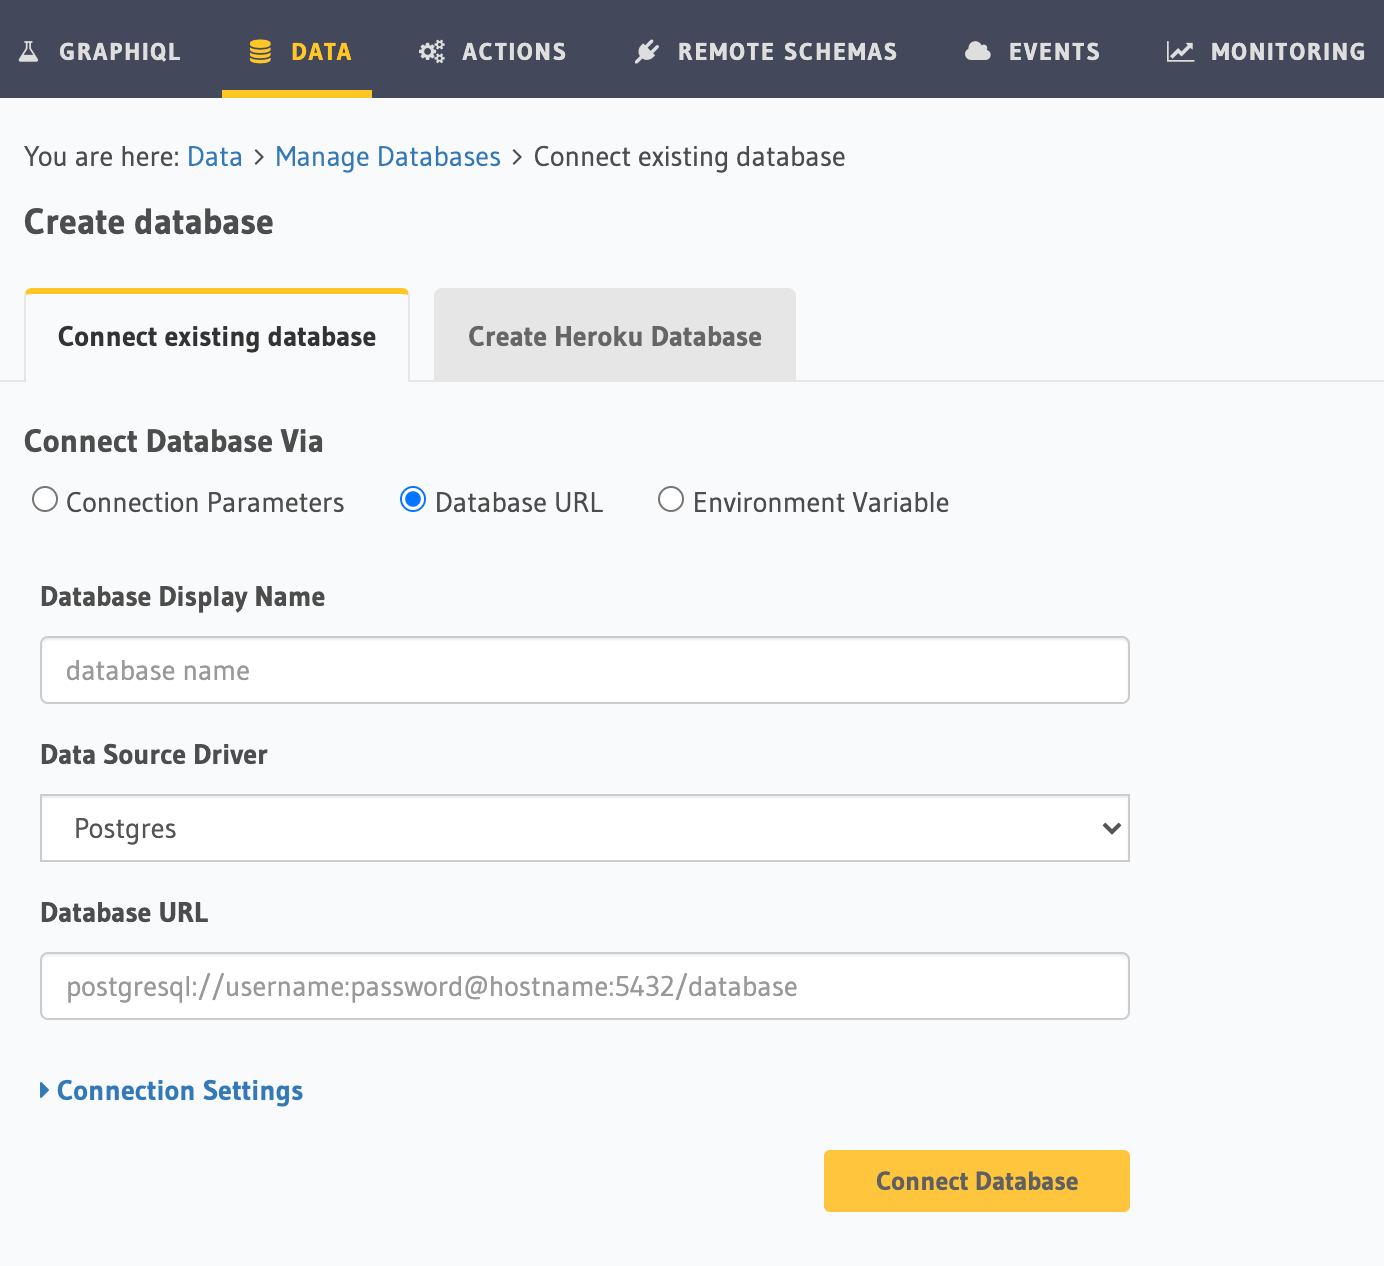
On the Hasura Console, navigate to Data -> Manage -> Connect Database -> Connect existing database:
You will get prompted for a Postgres Database URL. We will create this in the next step and then come back here.
Step 3: Create a Postgres DB on Crunchy (skip if you have an existing DB)
Log into Crunchy.
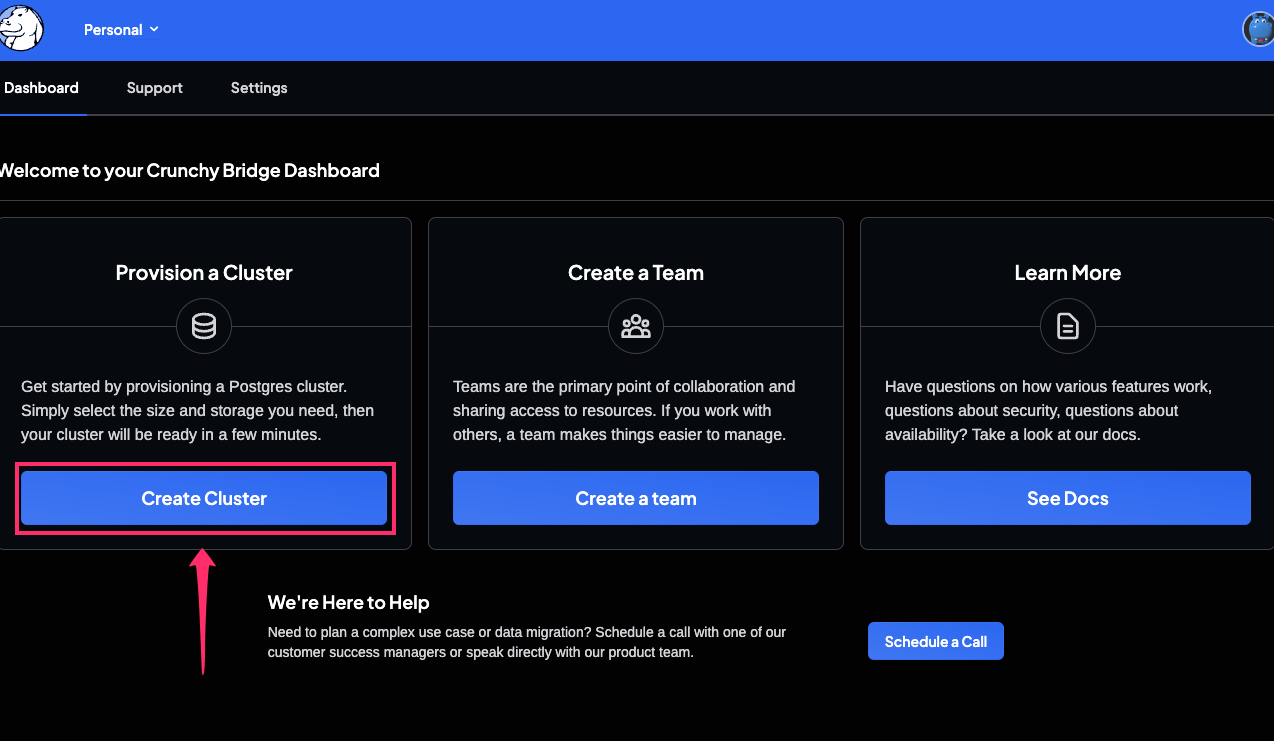
From your dashboard, click Create Cluster:
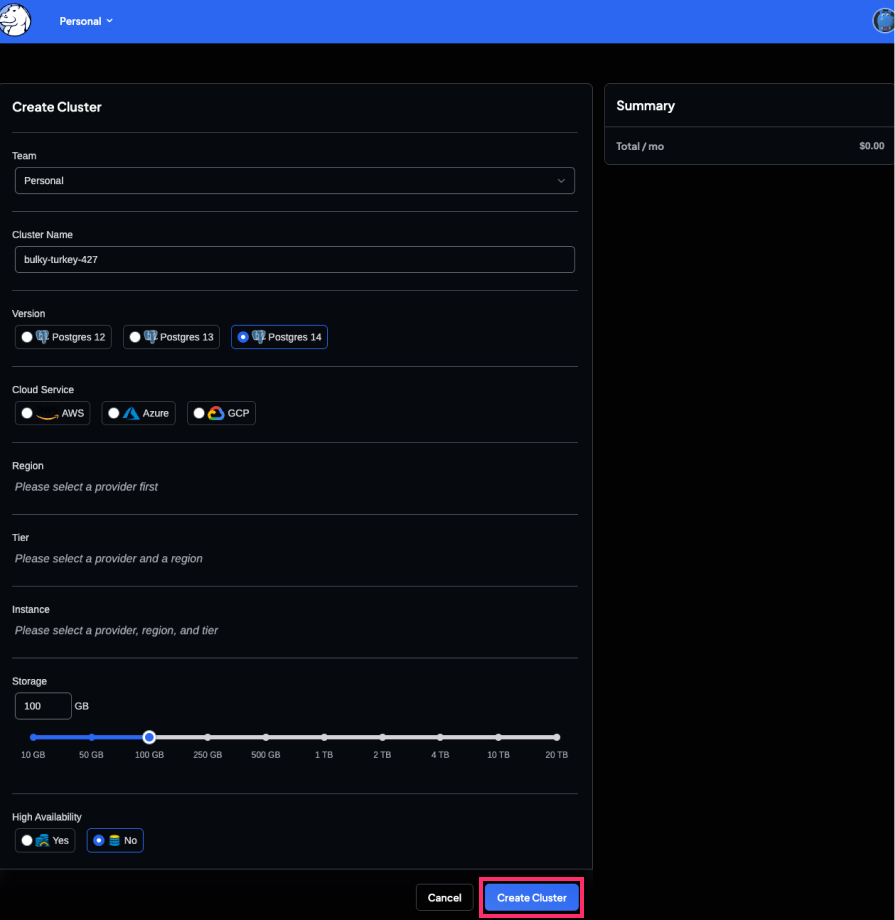
Fill in the necessary information and click Create Cluster:
After creating the cluster, you'll be redirected to its dashboard. Keep an eye on the Status row of the Cluster
Overview card. While you can access your connection string immediately, the cluster must first be provisioned in order
for Hasura to be able to connect.
Congratulations! You've now created a Postgres instance on Crunchy which you can use with Hasura GraphQL Engine. Follow the steps below to connect it to Hasura.
Step 4: Get the database connection URL
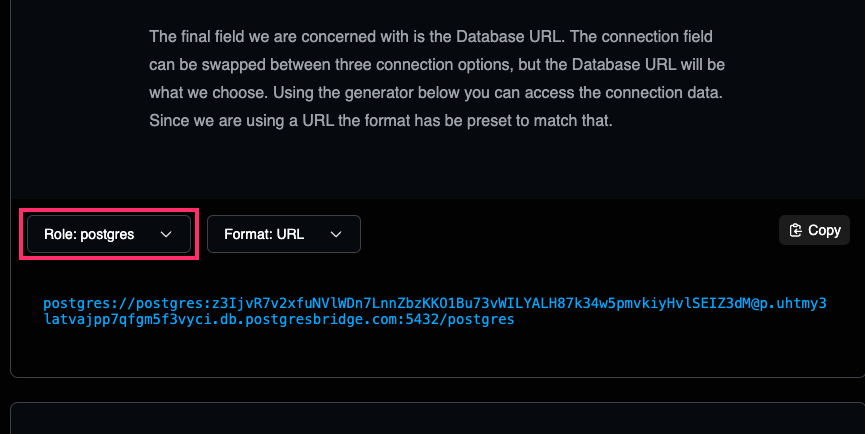
The structure of the database connection URL looks as follows:
postgres://<user-name>:<password>@<host-server>:<port>/<database-name>
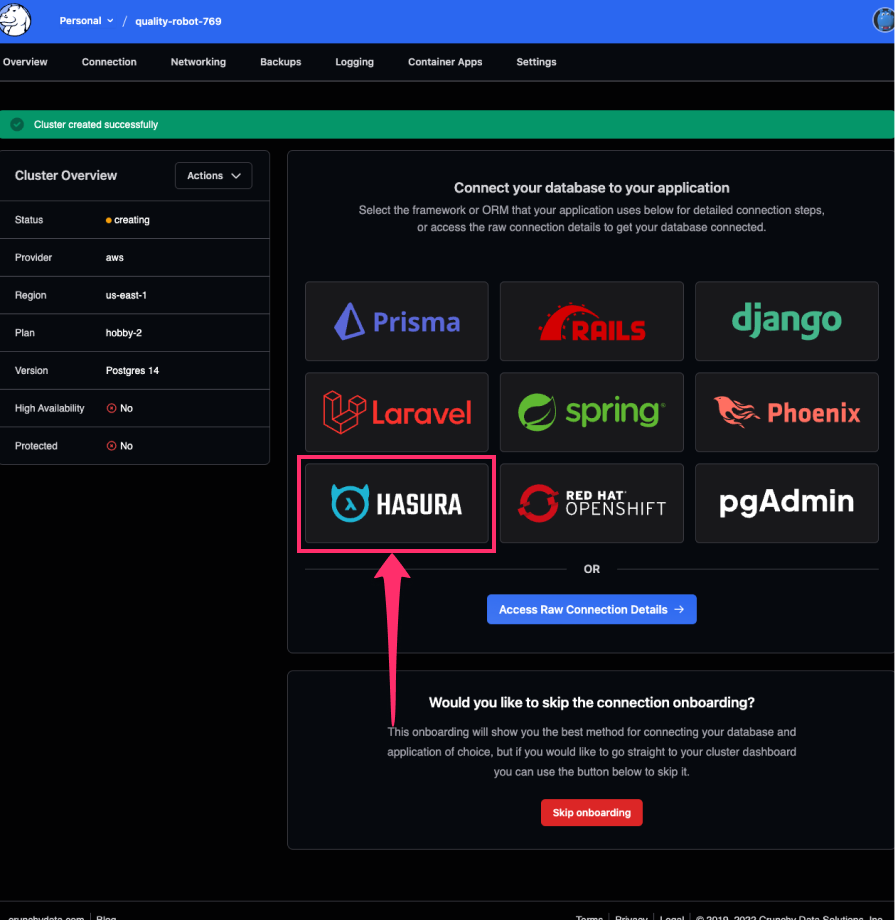
Click on the Hasura card to see your connection string:
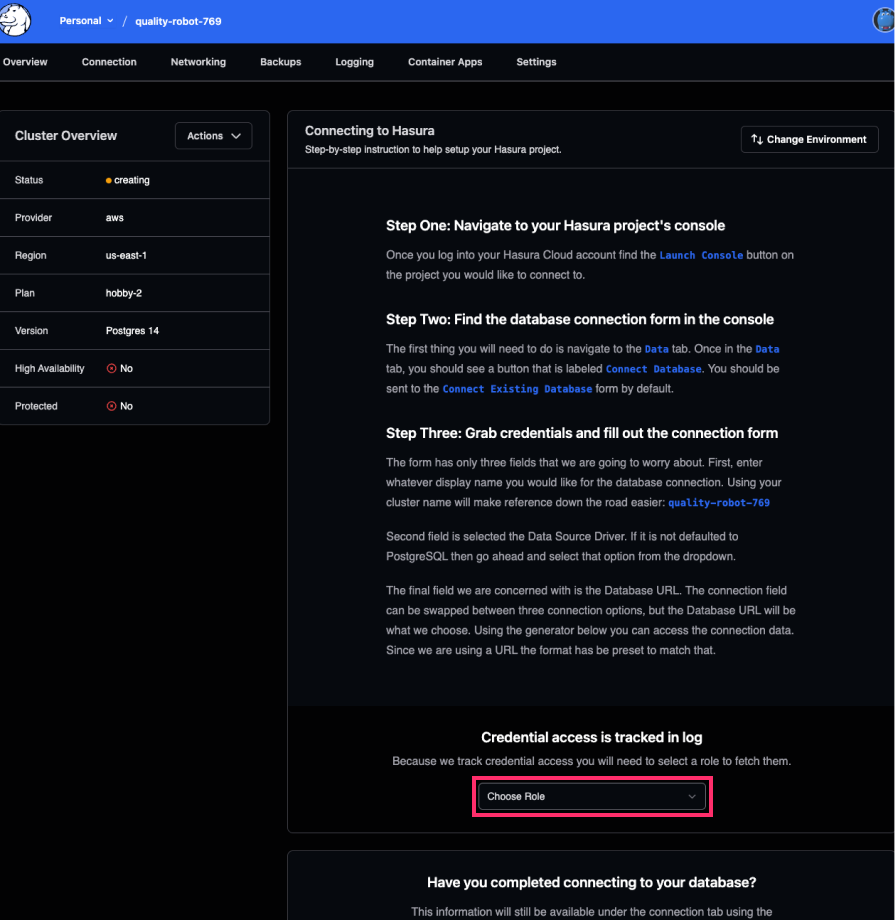
At the bottom of the instructions, we'll select Superuser (which will be postgres) for our role:
Copy the connection string:
Step 5: Finish connecting the database
Back on the Hasura Console, enter the database URL that we retrieved in the previous step:
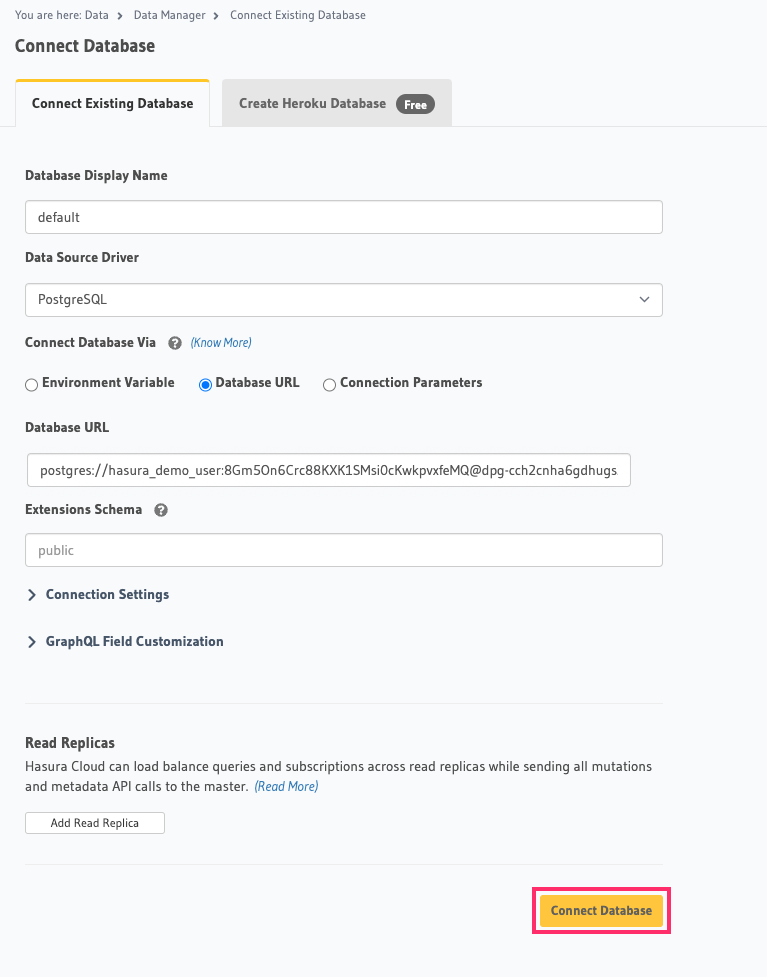
Then click Connect Database.
For security reasons, it is recommended to set database URLs as env vars and using the env vars to connect to the databases in place of the raw database URLs.
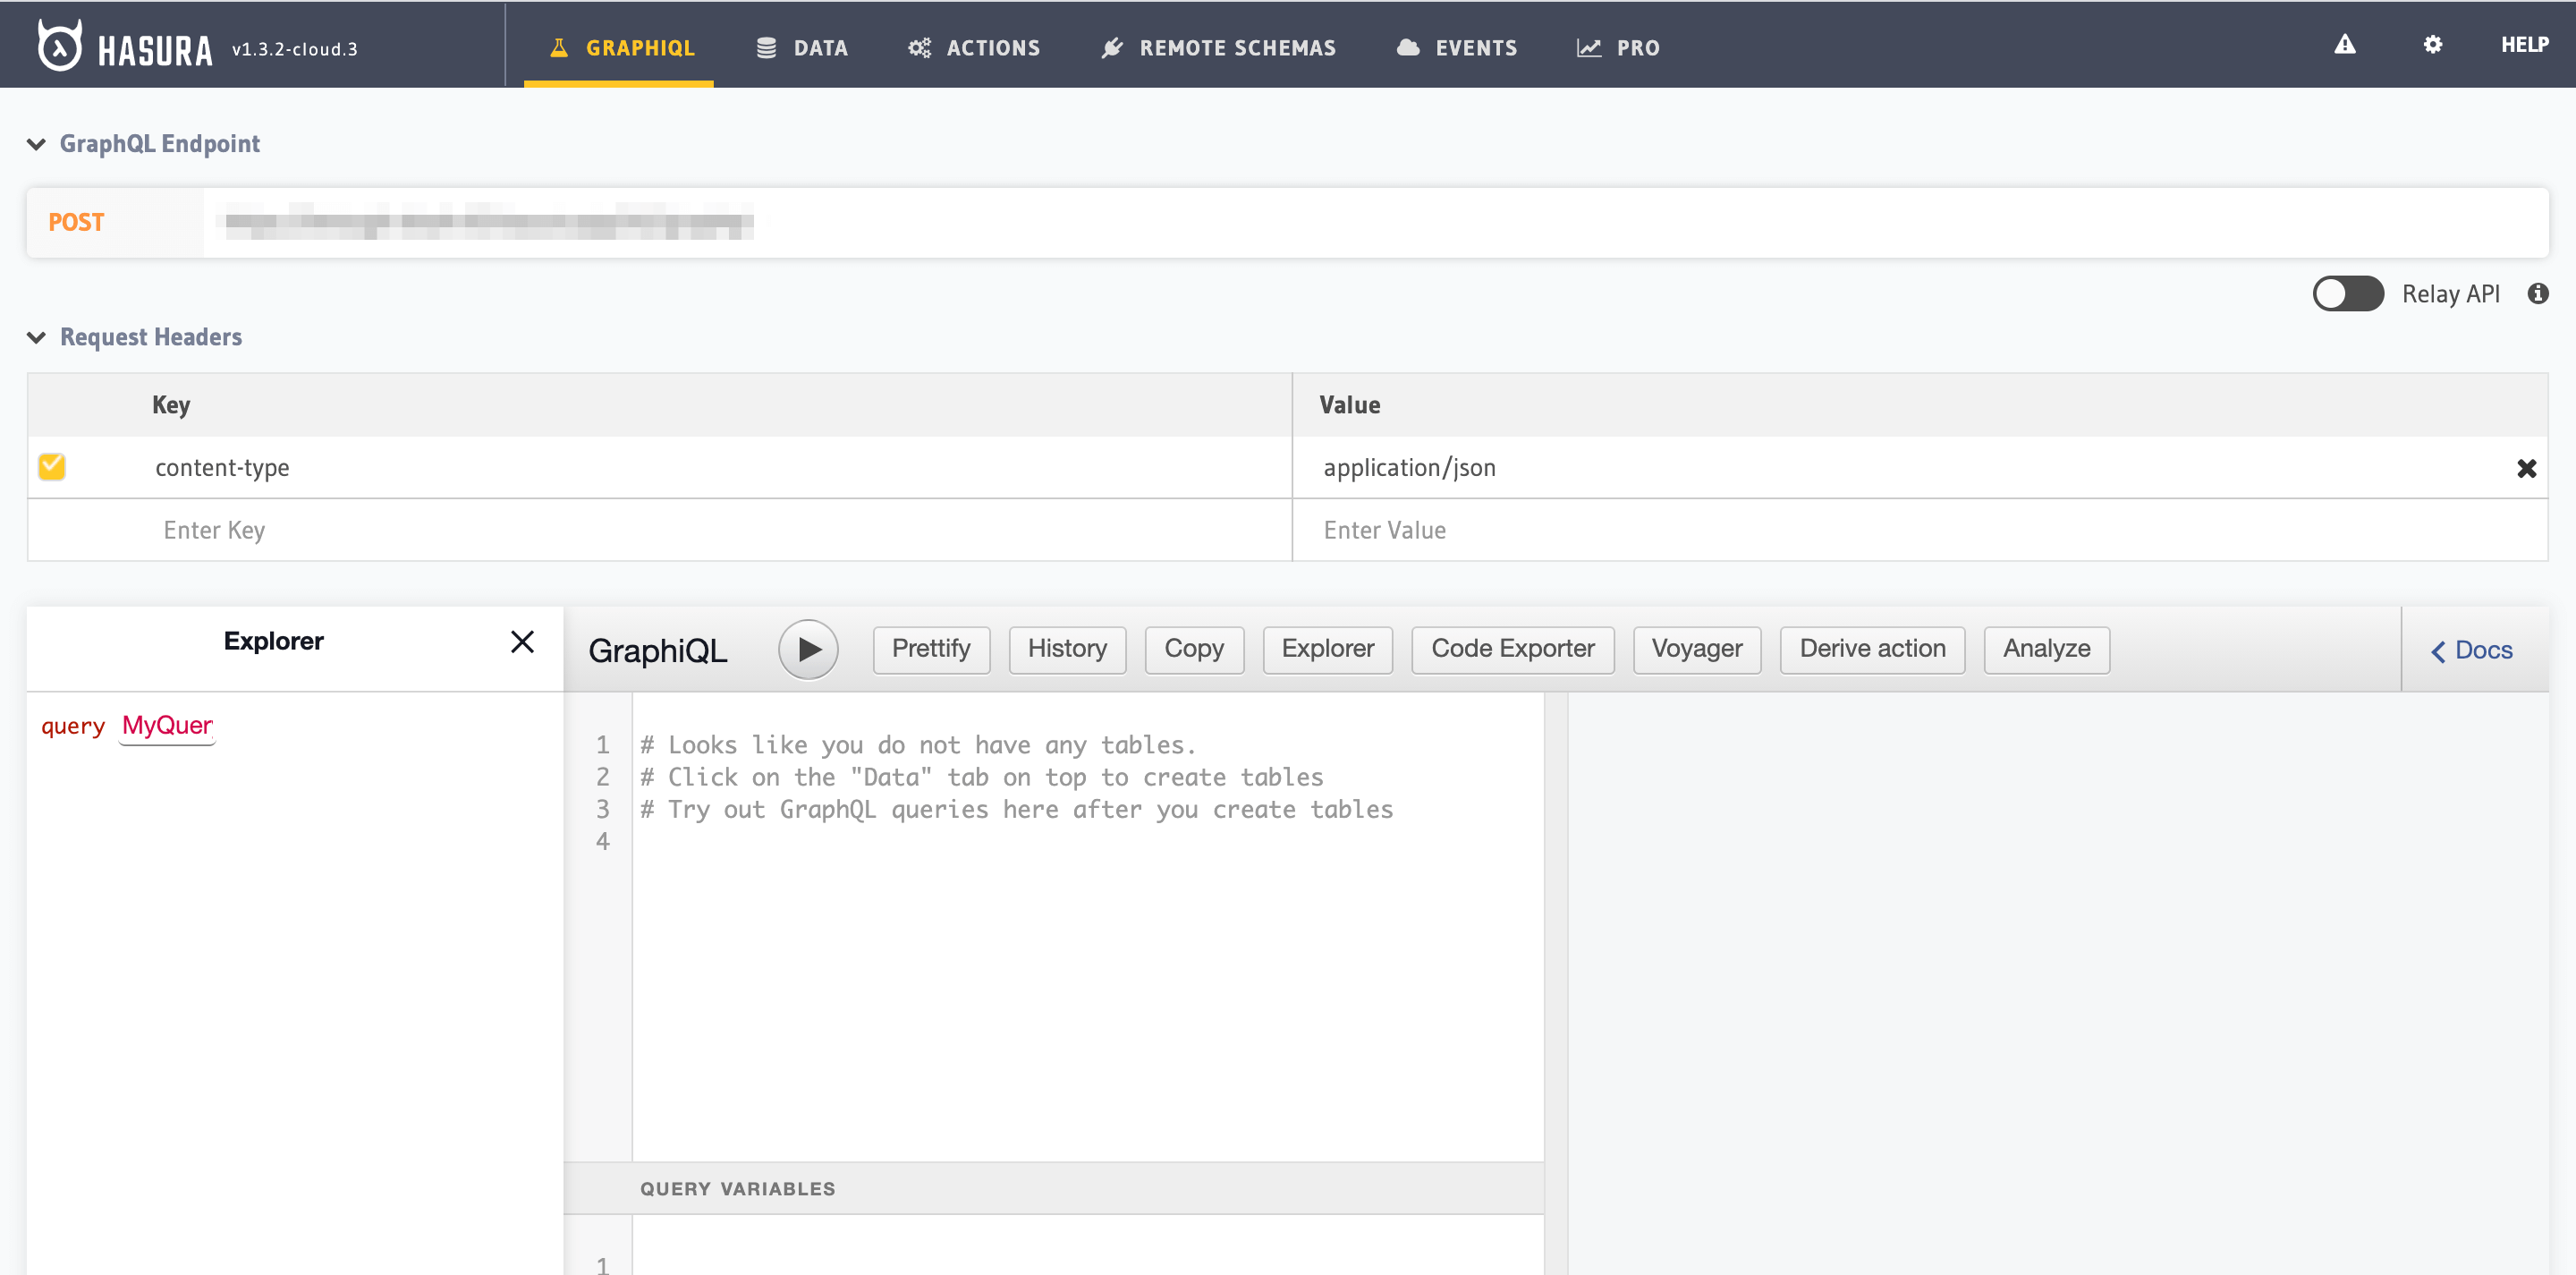
Voilà. You are ready to start developing.
Next steps
You can check out our 30-Minute Hasura Basics Course and other GraphQL & Hasura Courses for a more detailed introduction to Hasura.
You can also click the gear icon to manage your Hasura Cloud project. (e.g. add collaborators, env vars or custom domains).

For more information on which Postgres features we support, check out this page!

